

10 innovative approaches to improve your 3D architectural visualisation
10 November 2026
Guide · Updated 10 November 2026
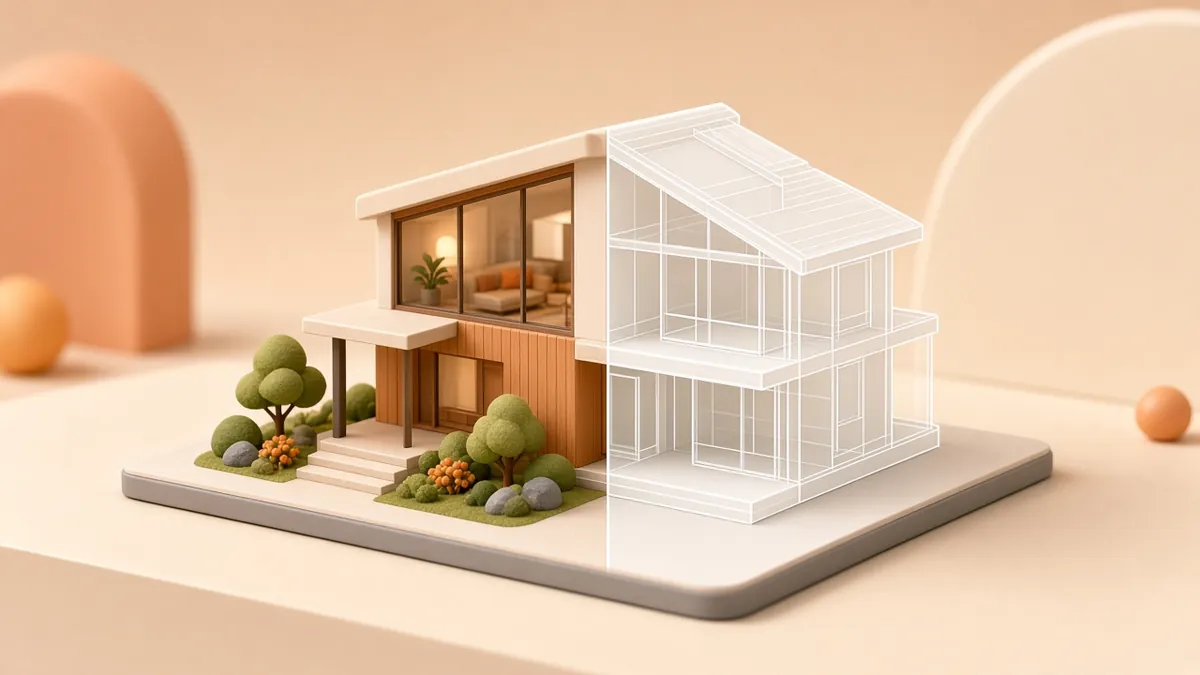
Architectural visualisation (archviz) has moved far beyond a few glossy stills. Clients now expect to understand a space before it is built, and to make decisions with confidence. These ten approaches help you get there.
1. Start from the BIM or CAD model
Building information modelling (BIM) holds the geometry and data of a building in one place. Starting the visualisation from that model, instead of re-drawing it, keeps dimensions accurate and makes it easier to update renders when the design changes. Agree early which software and export formats the architect and the visualiser will use.
2. Use a real-time engine for reviews
Game engines can render interiors and exteriors interactively. Instead of waiting for a new still every time someone asks "what does it look like from the balcony?", the team can move the camera live in a meeting. Final marketing images can still be rendered at higher quality later.
3. Walk clients through in VR
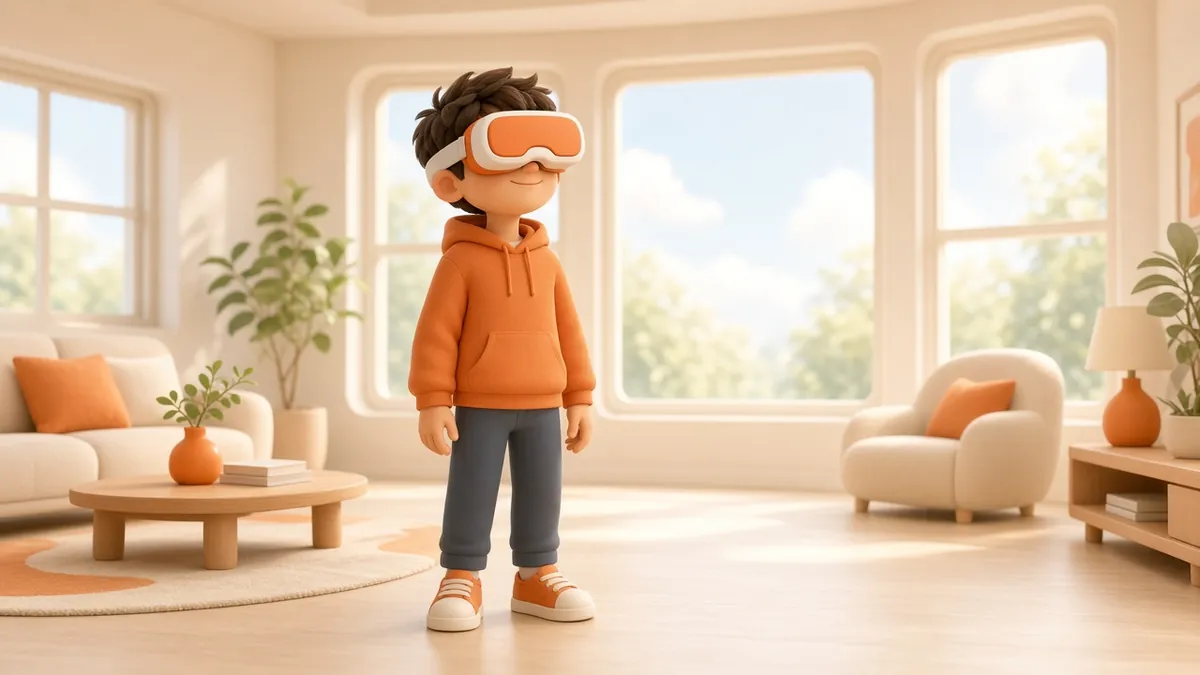
A headset gives a sense of scale that no screen can match. Ceiling heights, corridor widths and the view from a window are much easier to judge when you are "standing" in the space. Keep sessions short and seated where possible, because some people feel motion discomfort in VR.
4. Put the model in a browser
Not every client has a headset. Web technology such as the WebXR Device API and components like Google's model-viewer let people open an interactive 3D model or an AR view on a phone or laptop, with no app to install. This is ideal for sharing a unit layout or a furniture concept.
5. Capture the existing site
Photogrammetry builds 3D geometry from many overlapping photographs, and drone surveys can capture a whole plot. Placing the new design inside an accurate model of the real surroundings makes the context, neighbours, trees and roads, believable.
6. Try Gaussian splatting for context
3D Gaussian splatting, introduced in a 2023 research paper, can turn a set of photos or video into a photorealistic scene that renders in real time. It is especially useful for showing existing streets or interiors as a backdrop. It is still a young technique, so check how well your tools support it before you rely on it for a deadline.
7. Study the light honestly
Daylight is one of the main things buyers care about. Render the same view at morning, midday and evening, and in different seasons, using the real orientation of the site. Accurate sun studies build trust; fake "golden hour everywhere" images can do the opposite when people visit.
8. Show materials as they will really look
Physically based materials respond to light the way real surfaces do. Ask for real material samples or manufacturer data where possible, and show a small material board next to the render. It prevents disappointment when the tile in the render does not match the tile on site.
9. Tell a story with animation
A 60–90 second fly-through or walk-through works better when it follows how someone would actually use the building: arriving, entering, moving through the main spaces and ending at the best view. Add simple labels for key features and keep camera moves slow and steady.
10. Plan the outputs together
Decide at the start which deliverables you need: hero stills for hoardings and brochures, square and vertical crops for social media, an animation for the website, an interactive model for the sales office. Producing them from the same scene keeps them consistent and saves time.
A note on accuracy
Marketing images for buildings that are not finished yet should be clearly labelled as artist's impressions, and should not show features that are not part of the plan. Check the advertising rules in your market, such as real estate regulator guidance, before publishing.
Get started
Want to see how this looks in practice? Browse our portfolio, estimate a timeline with the frame calculator, or contact us to discuss an architectural visualisation project.